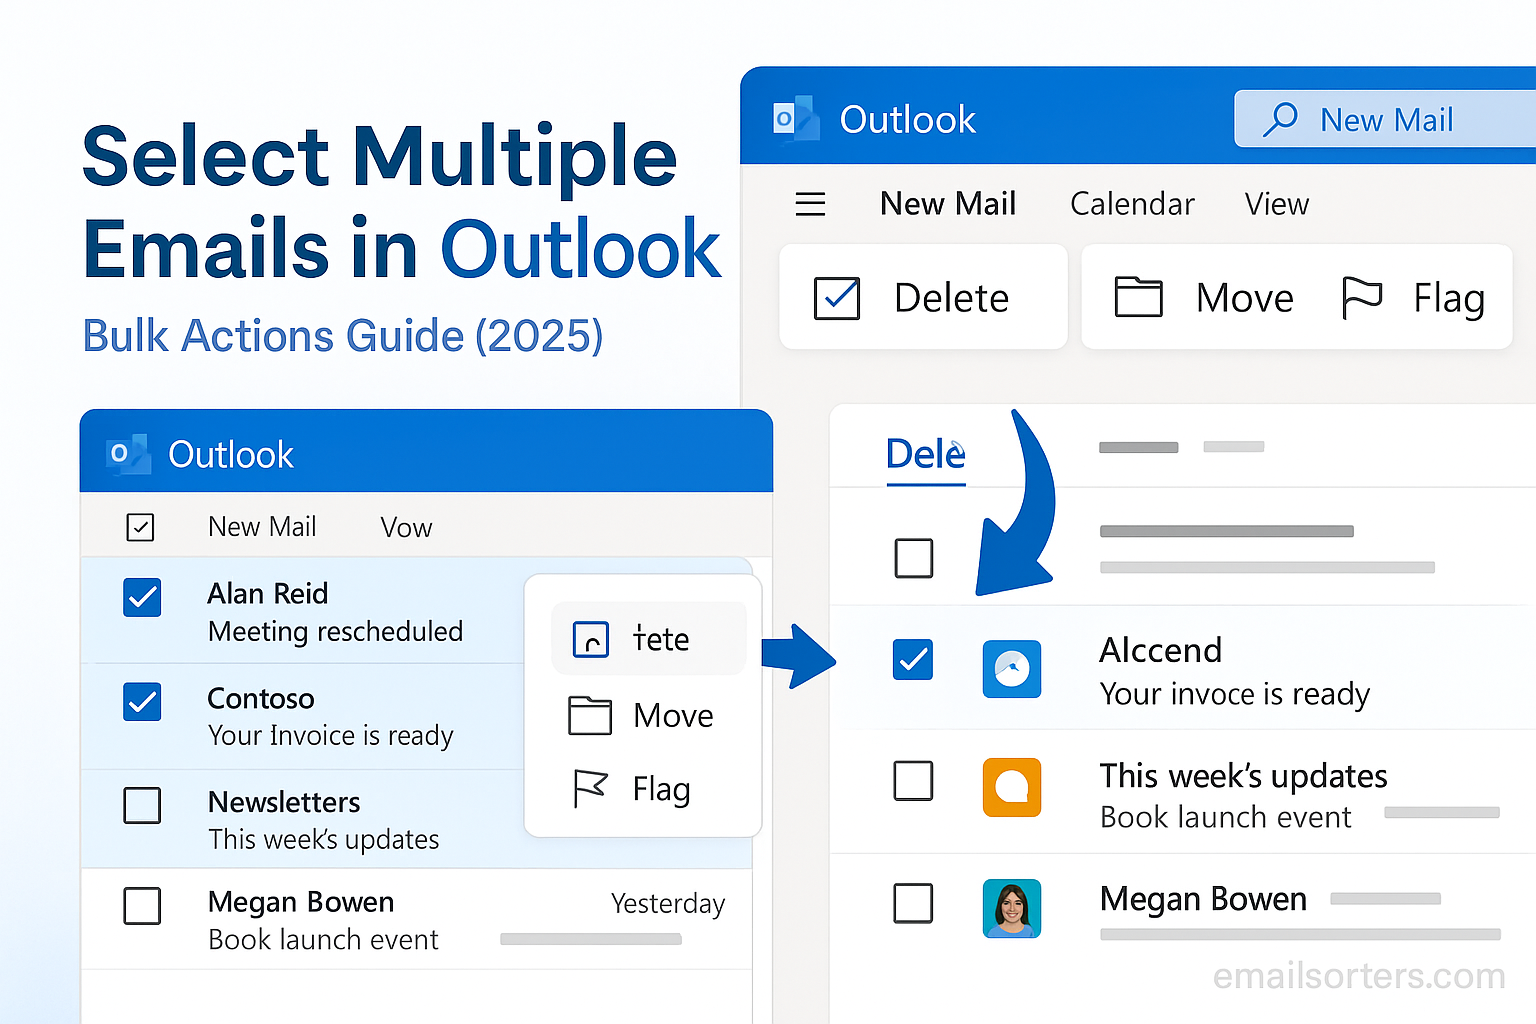
Select multiple emails in Outlook and suddenly your inbox gets way easier to manage. Instead of deleting, moving, or flagging one message at a time, you can handle dozens in just a few clicks. That means less time sorting and more time focusing on what matters.
The best part? Outlook gives you different ways to do it, whether you’re on desktop, web, or mobile. Once you know the shortcuts, bulk actions like archiving, marking as read, or dragging into folders take seconds.
In this guide, I’ll walk you through how to select multiple emails in Outlook step by step, plus a few tips to speed up your inbox cleanup. Ready to master bulk actions? Let’s dive in.
Why Selecting Multiple Emails Matters in Inbox Management
Efficient inbox management isn’t about obsessively checking every message it’s about handling email in context, intelligently, and with scale. That’s why the ability to “select multiple Outlook emails” is crucial for anyone serious about productivity. Instead of dealing with messages individually, bulk selection empowers you to make quick decisions: archive all social media updates, delete sales blasts from last month, or flag revenue-related threads in one batch.
Without this capability, you risk spending hours wading through messages that don’t deserve individual attention. Bulk operations prevent that drain, saving time and reducing cognitive load. They also minimize errors since a single mistake clicking manually through dozens of emails can accidentally delete or mis-file important correspondence.
Moreover, selecting multiple emails allows you to pair bulk actions with Outlook’s organizational tools like moving groups into folders, applying categories, or marking messages as read or unread. It’s about treating your inbox like a database rather than a task list batching when possible, responding when necessary.
In short: selecting multiple emails is the backbone of effective inbox control. It converts email from a constant interruption into a manageable, scheduled activity and frees up mental space for more important work.
Understanding the Selection Tools in Different Outlook Versions
Outlook’s bulk selection tools vary slightly depending on whether you’re using the desktop app, web client, or mobile version. Learning how each version handles multi-select offers maximum flexibility especially when you juggle devices throughout the day.
In Outlook Desktop (Microsoft 365 Windows or Mac): you can use Shift‑Click to select a continuous range of messages (click the first, hold Shift, click the last), or Ctrl‑Click (Cmd‑Click on Mac) to choose non-adjacent messages. Once selected, the ribbon displays group actions like Archive, Delete, Move, Categorize, or Mark Read. You can also “Select All” using Ctrl+A to act on entire folders.
In Outlook Web (Outlook.com / Office 365 Web App): checkboxes appear beside each message when you hover over them. Clicking these lets you mark individual emails, and a “Select All” option appears above the message list. From there, you see bulk options like Archive, Move To, Delete, Sweep, or Rules actions.
In Outlook Mobile (iOS & Android): you enter selection mode by long-pressing a message. Then tap additional emails to select multiple. You’ll see toolbar icons appear for actions like Delete, Move, Mark as Read, or Flag. Some apps include “Select All” for the currently loaded emails.
Understanding these methods across platforms ensures you can apply bulk actions no matter where you are. And when you sync across platforms, the changes carry over so your inbox stays clean whether you’re on mobile, web, or desktop.
When to Use Bulk Selection vs Single Email Selection
Bulk selection is powerful but it’s not always the right tool. Knowing when to apply it and when to act on a single email can protect you from over-deleting or misfiling critical messages.
Use bulk selection when dealing with routine cleanup tasks like deleting old newsletters, archiving project-related threads, or moving batches of read messages into structured folders. These are low-risk, high-impact actions where speed matters more than granularity.
For sensitive actions like replying, forwarding, or reviewing attachments you’ll want to open the email individually. That allows nuanced responses and ensures you don’t accidentally act on messages that require context.
Also, resist the temptation to bulk-delete entire conversation threads that might include both relevant and irrelevant content. Instead, filter first for example, “emails from this sender older than 6 months” and review before deleting.
Finally, remember that bulk selection can be paired with search operators or filters. Searching first, then selecting all results, lets you refine which emails to manage: for example, all messages larger than 10MB or all emails from a specific sender. This hybrid approach preserves precision while still leveraging volume.
Proper use of bulk selection alongside deliberate single-item actions ensures efficiency without sacrificing accuracy or data integrity.
Step-by-Step: Selecting Multiple Emails in Outlook Desktop
When you’re managing hundreds or even thousands of emails, selecting them one by one just isn’t practical. Outlook Desktop makes it incredibly efficient to manage multiple emails at once, thanks to its intuitive mouse and keyboard shortcuts. In this step-by-step breakdown, you’ll learn how to quickly select, organize, or delete emails using Outlook’s multi-select tools.
First, launch your Outlook Desktop application and open the folder you want to manage, usually your Inbox, but it could also be Sent Items, Drafts, or a custom folder. To select a continuous group of emails, click the first message you want, hold down the Shift key, then click the last message in the sequence. All emails between those two will be selected automatically.
For selecting non-adjacent emails, hold down the Ctrl key (Cmd on Mac) and click each message you want to include. This gives you flexibility if you’re only targeting specific emails from different parts of your inbox. Once selected, the toolbar becomes active and you can choose an action: Delete, Archive, Move to Folder, Categorize, or Mark as Read/Unread.
If your goal is a full sweep of an entire folder say, clearing your Junk Mail or Clutter folder use the Ctrl + A shortcut. This selects all emails currently displayed. From there, hit Delete or Move, and you’re done.
You can also combine multi-selection with filters. For example, type a sender’s name in the search bar, press Enter, then press Ctrl + A to select all results at once. This is especially handy when you’re trying to clean up promotional emails or remove duplicate notifications.
The visual cues in Outlook such as highlighted backgrounds or checkboxes help confirm which emails are selected before you commit to a bulk action. This minimizes mistakes and ensures you’re always in control of what gets deleted or moved.
Mastering these selection methods can shave hours off your inbox management time every month. It turns email handling from a tedious chore into a strategic, batch-driven task that aligns perfectly with modern productivity systems.
Step-by-Step: Selecting Multiple Emails in Outlook Web
If you’re working in a browser through Outlook Web (formerly Outlook.com or Office 365 Web App), you still have robust tools for selecting multiple emails and performing bulk actions. While the interface is optimized for simplicity and speed, it retains nearly all the power of the desktop version just in a more touch-friendly, icon-driven layout.
To begin, open Outlook on the Web and navigate to the desired folder. Hover your mouse over the profile picture circle next to any email this reveals a checkbox. Click it to select that email. Continue clicking the checkboxes next to other messages to select them individually.
Once you start selecting emails, a new contextual toolbar will appear at the top of the screen. From here, you can take mass actions such as Delete, Archive, Move to Folder, Categorize, Sweep, or Mark as Read/Unread. You can even report spam, assign labels, or trigger custom rules based on selected emails.
For selecting all emails currently displayed in the folder, click the checkbox at the top of the message list. This will automatically highlight the visible batch. If you’re dealing with search results such as after using filters like “from:[email protected]” this Select All applies only to filtered items, giving you powerful targeting without unwanted deletions.
One helpful feature in Outlook Web is its responsiveness to keyword and date filters. Use the search bar to refine your selection, and once the filtered results load, apply a bulk action to all at once using the top checkbox and toolbar.
Outlook Web also has a “Clean up” feature, where you can apply sweeping rules to entire conversations automatically keeping only the latest message and deleting older replies. This is incredibly helpful for managing long email threads that no longer need archiving.
All these tools sync across your Microsoft 365 account, meaning the bulk actions you take on the web will reflect instantly on your desktop and mobile devices. That continuity makes Outlook Web a vital tool for anyone who wants to manage their inbox remotely or on shared devices without sacrificing control.
Step-by-Step: Selecting Multiple Emails in Outlook Mobile App
The Outlook mobile app available for both iOS and Android is designed for quick access, short replies, and light email management. But even on a smaller screen, it still allows you to select multiple emails and perform bulk actions like deleting, moving, flagging, or archiving.
To begin, open the Outlook app and navigate to the folder you want to manage most likely your Inbox or Promotions. Long-press on any email until it’s highlighted. This action triggers selection mode, and once activated, checkboxes appear beside every message.
Now tap on any additional emails you want to include in the action. As you tap, the count of selected messages will appear at the top of the screen, along with icons for bulk actions. Depending on your platform and version, these may include Trash, Archive, Move, Mark as Read/Unread, or Flag.
While there’s no “Select All” button like in desktop or web versions, you can still move quickly through a list by scrolling and tapping multiple items in a row. If your inbox isn’t too large, selecting 10–20 emails manually this way is still fast and effective.
For broader cleanup on mobile, consider sorting your inbox by Unread, Flagged, or by sender. This helps surface grouped emails that are easier to batch delete or archive. Outlook mobile also supports swipe gestures that can be customized in settings to handle frequent actions like swipe left to archive, swipe right to delete.
Another tip: if you use Focused Inbox, toggle to the “Other” tab and clean it out in bulk. Often, these messages are low-priority and ripe for deletion or archiving with multi-select.
All actions performed on the mobile app are synced in real-time across Outlook Desktop and Web. This lets you triage on the go clearing out the clutter while waiting in line, commuting, or between meetings so your desktop inbox feels lighter when you return.
By mastering bulk selection on mobile, you stay productive even when away from your desk. It’s inbox control, right in your pocket.
Combining Multi-Selection With Search and Filters for Precision
Multi-selection in Outlook becomes exponentially more powerful when paired with search filters and queries. Instead of blindly selecting emails in bulk, you can zero in on a specific subset of messages then apply actions with surgical precision. Whether you’re trying to mass-delete marketing emails, clean up large attachments, or isolate unread updates from a specific sender, this hybrid technique gives you accuracy with speed.
Start by opening Outlook on desktop, web, or mobile and type a search query into the search bar. For example, entering “from:amazon.com” filters your inbox to only show emails from that sender. Similarly, “larger:10MB” reveals messages with hefty attachments, and “older_than:6m” surfaces emails older than six months. These are just a few of many available Outlook search operators.
Once the results populate, hit Ctrl + A on desktop, or use the checkboxes on web or mobile to select all filtered results. From there, you can delete, archive, move, or categorize all while knowing you’re targeting only relevant messages.
On the desktop app, you can also combine Search Folders with multi-select. Create a Search Folder for all unread emails or messages with attachments. Visit that folder, select all, and perform your action.
In Outlook Web, once a filter or search is applied, a bar at the top gives you a “Select All” option. This is especially useful for cleaning up newsletters, event invites, or flagged spam in one quick motion.
This combo method is ideal for regular maintenance. Want to delete all emails with attachments from two years ago? Filter by “has:attachment older_than:2y,” select all, and clear them out. You’ll reclaim valuable space and reduce inbox clutter without digging through folders manually.
By leveraging Outlook’s search power alongside bulk selection, you’re no longer managing email blindly you’re performing targeted inbox surgery. The result is faster cleanup, more space, and a sharper focus on what truly matters.
Cautionary Tips: Avoiding Accidental Bulk Deletes
Multi-selecting emails can dramatically improve efficiency but with that speed comes risk. One careless click could wipe out important correspondence, especially if you’re working fast and not paying close attention. Knowing how to avoid these mistakes can save you from unnecessary panic and data loss.
First and foremost: always review selected messages before applying actions like delete or move. Outlook highlights all selected messages with a gray or blue background (depending on your platform). Take a quick scan before hitting that trash icon. If anything looks off like client threads or flagged items deselect it immediately.
When using the Select All function, be extra cautious. It’s easy to forget you’re working with a filtered or sorted inbox, which can lead to unintended deletions. Double-check whether you’re selecting every email in your account or just the ones on screen. Outlook Web, for example, often only selects visible items unless you click the option to “select all conversations that match this search.”
If you accidentally delete a large batch, don’t panic. Outlook automatically moves deleted emails to the Trash or Deleted Items folder, where they remain for 30 days (or more if your organization extends retention settings). Simply go to the Deleted folder, use the Restore function, and recover everything you lost.
For extra protection, create a temporary holding folder. When you’re unsure about deleting, move emails into this folder instead. After a week or two, revisit it and perform a final review before permanent deletion.
Another smart move: enable conversation view with caution. While it helps group threads, bulk selecting a thread can include multiple replies and hidden messages. If you delete a thread by mistake, you may lose context that spans multiple interactions.
Lastly, get in the habit of archiving rather than deleting when uncertain. Archiving clears your inbox without risk and allows for later retrieval. It’s a safer option when cleaning up large sets of emails that might still hold some long-term value.
Outlook’s multi-select feature is your ally but like any powerful tool, it works best when used carefully.
Organizing Your Inbox Using Multi-Select and Folders
One of the most effective ways to achieve long-term email sanity is through organized folders and nothing powers that structure better than the ability to select multiple Outlook emails and move them en masse. When combined, multi-selection and folder organization transform a chaotic inbox into a clean command center.
Start by creating logical folders or subfolders within Outlook based on clients, projects, months, departments, or email types like “Invoices,” “Follow-Up,” or “Personal.” Once your structure is ready, visit your inbox and begin sorting emails.
Using Shift-Click or Ctrl-Click on desktop, select relevant emails perhaps all from a specific sender, or all flagged emails related to a recent campaign. Then, use the Move To option in the ribbon to shuttle those messages directly into the correct folder.
In Outlook Web, the same process applies. Use the checkboxes to select your emails, then click the folder icon in the top toolbar and choose the right destination. For better visibility, pin your most-used folders to the sidebar so you don’t have to scroll each time.
On mobile, long-press to select multiple emails, tap “Move,” and choose a folder. This lets you file away emails while commuting, relaxing, or waiting in line turning dead time into clean-up time.
For recurring messages like bank statements or team updates consider pairing bulk moves with rules or filters. For example, set up a rule to automatically move anything from your HR department into an “HR” folder. Then, periodically visit that folder and use bulk selection to mark as read, archive, or delete once reviewed.
This strategy not only clears your inbox, it improves retrieval. Later, when you need a specific email, you’ll know exactly where to look.
Folders are only as useful as the actions that populate them. With multi-select, building and maintaining a folder system takes minutes, not hours giving you control without complexity.
Best Use Cases for Bulk Actions Like Delete, Archive, and Move
Selecting multiple Outlook emails is most powerful when tied to clear, specific use cases. Each bulk action delete, archive, or move serves a different function in maintaining your inbox and improving productivity. Knowing when and why to use each ensures you’re not just acting quickly, but acting wisely.
The delete function is best reserved for emails that hold no future value. Think promotional blasts, expired deals, calendar invites for past meetings, or spam that sneaks past filters. When your inbox becomes crowded with such content, selecting and deleting in bulk provides instant relief. This is especially useful after vacations, during quarterly reviews, or following high-traffic shopping seasons when promotional mail floods in.
Archiving, on the other hand, is ideal for messages you’ve read or responded to but might want to revisit later. These could include client exchanges, newsletters with links you may reference again, or transactional receipts. With bulk selection, you can sweep these into your Archive with one click, clearing space without permanently discarding anything. It’s a great way to clean house without burning bridges.
Moving messages to folders is particularly effective for organizing active projects or departments. Use this when sorting correspondence by client name, product, or event. If you receive updates from a marketing team, for example, you can multi-select them and move them to a “Marketing” folder. Later, when it’s time to report progress or compile deliverables, everything is already in one place.
Combining these bulk actions lets you build a repeatable system. Delete what’s irrelevant. Archive what’s done. Move what’s still in motion. It transforms your inbox from a holding pen into a launchpad for smarter work. And by acting in batches, you prevent clutter from ever accumulating into chaos.
Understanding which action suits which message type will keep your inbox both clean and functional. It’s not just about fewer emails it’s about the right emails in the right place, every single time.
How Multi-Selection Affects Performance and Syncing
Working with large sets of emails can influence how Outlook performs, especially on older devices or slower internet connections. When selecting dozens or even hundreds of emails at once, Outlook needs to temporarily cache those messages and prepare them for the selected action. This might cause a momentary lag or delay in response, particularly on Outlook Web or when syncing to a mobile app.
On desktop, performance is usually solid as long as your device has sufficient RAM and a responsive hard drive. However, when working with folders containing thousands of messages, you may notice brief slowdowns especially during mass deletions or moves. If this happens frequently, consider breaking your tasks into smaller batches, such as processing 200 emails at a time instead of 2,000.
Outlook Web relies heavily on browser performance and internet speed. Selecting too many emails in a filtered view can cause the interface to freeze or produce error messages. If this happens, refreshing the page and narrowing the scope of selection such as by date range or sender can prevent overload.
Syncing is another area to consider. When you apply a bulk action like moving or deleting emails on one platform, it takes time for the change to propagate across others. This delay is usually brief, but for accounts with large inboxes or slow connections, it can be more noticeable. For example, if you delete 500 emails on desktop, your mobile device may still display them until the sync completes.
To minimize sync issues, ensure that your apps are up to date and that you’re using a stable network connection. Periodically clearing cache and closing unused background apps can also help improve responsiveness, particularly on mobile.
Ultimately, while multi-selection is a time-saving feature, understanding its impact on system performance and sync behavior will help you avoid frustration. With a bit of patience and good digital hygiene, bulk actions become seamless across every device.
Customizing Outlook to Improve Multi-Select Efficiency
One of the best things about Outlook is how customizable it is. By tweaking a few settings, you can make multi-selection faster, more intuitive, and less prone to mistakes. Whether you’re a casual user or a power emailer, optimizing your setup makes a huge difference in workflow efficiency.
Start with the Reading Pane settings. Many users find it easier to multi-select emails when the Reading Pane is off or positioned at the bottom rather than on the right. This gives more screen space to view message rows and reduces accidental clicks when selecting messages.
Next, adjust your column views. In Outlook Desktop, you can customize which columns appear in the message list such as size, categories, or attachments. Sorting emails by size or category can make it easier to find and batch-process similar messages. If your goal is to delete large files or sort flagged items, this view setup becomes essential.
Turn on conversation view if you’re dealing with threaded messages. This groups related emails together and allows you to select and act on entire conversations instead of individual replies. Just make sure to review what’s included in the thread before applying any bulk actions.
Keyboard shortcuts also improve selection speed. On Windows, use Ctrl + A to select all, Ctrl + Click for individual selections, and Shift + Click for a range. Mac users use the Command key instead of Ctrl. Memorizing a few of these combos can cut your email cleanup time in half.
You can even create Quick Steps a feature in Outlook Desktop to automate frequent actions like “Move to Folder X and Mark as Read.” When paired with multi-selection, this gives you the power to clean, file, or organize your inbox in seconds.
For web users, customizing the toolbar and turning on hover checkboxes can streamline selection. In mobile apps, adjusting swipe gestures to handle bulk-friendly actions like archive or move lets you act faster without diving into menus.
A small investment in customization pays big dividends. With the right setup, multi-selection becomes a precision tool fast, reliable, and tailored exactly to your way of working.
Conclusion: Reclaiming Your Inbox Through Multi-Selection
Mastering how to select multiple Outlook emails is more than just a productivity hack it’s a gateway to digital control. It allows you to declutter faster, organize smarter, and act with intent rather than react in chaos. In an age where inbox overload is a daily struggle, learning how to take back your time with batch actions is a genuine game-changer.
By now, you understand the full range of Outlook’s multi-selection capabilities. Whether you’re using Desktop, Web, or Mobile, you can confidently apply bulk actions like delete, archive, move, or categorize. You’ve explored search-based precision, mobile gesture tricks, and system-friendly practices that keep performance smooth even during large-scale cleanup.
More importantly, you’ve learned the mindset behind the feature: it’s not just about doing more faster it’s about doing the right things more effectively. Choosing which emails to remove, which to archive, and which to save becomes a habit that reinforces clarity, not clutter.
Inbox management isn’t about reading every message it’s about managing your attention. With multi-selection, you turn your inbox from a digital dumping ground into a strategic workspace. It’s one of the most powerful and underutilized features in Outlook and now, it’s fully in your hands.
FAQs
1. Can I undo a bulk delete in Outlook?
Yes. Deleted emails go to the Trash or Deleted Items folder and remain there for up to 30 days. You can restore them anytime during that window.
2. Does Outlook Mobile support selecting all emails at once?
No. You must manually tap each email to select them. However, long-pressing enters selection mode, making it faster to tap multiple items.
3. Will multi-selection affect flagged or pinned emails?
Only if you include them in your selection. Outlook won’t automatically exclude important messages, so always double-check before bulk actions.
4. Is it possible to multi-select emails from different folders at once?
Not natively. You must perform multi-selection actions within a single folder at a time.
5. Can I use filters to select emails with attachments only?
Yes. Use search terms like “has:attachment” to surface emails with files. Then apply bulk actions like delete or move based on those results.