You just unboxed your new iPhone. It is clean, fast, and full of promise. But it is not a “smart” phone until it is connected to your world. Learning how to set up email on iPhone is the first, most critical step to making that device truly yours.
For most people, this is a 60-second job. For others, especially with a work email, it can become a confusing mess of “IMAP,” “SMTP,” and “SSL.”
This is the definitive guide. I will walk you through the simple “automatic” method for major providers like Gmail and Outlook. Then, I will give you the click-by-click “manual” process for any custom or work email. We will cover troubleshooting, app comparisons, and tips to manage your inbox like a pro.
What Do I Need Before I Start?
Before you start, you must have your full email address and, most importantly, your correct password. You also need a stable internet connection.
This seems obvious, but this is the number one failure point. I have spent 20 minutes helping a friend troubleshoot a “failed” setup, only to find out they were using their old password.
Here is your pre-flight checklist:
- Your Full Email Address: For example,
[email protected]or[email protected]. - Your Email Password: This must be the password you use to log in to your email on a web browser.
- A Stable Internet Connection: Connect to your Wi-Fi network. While this works over cellular, a strong Wi-Fi signal is more reliable for the first connection.
- If You Don’t Have an Account: You cannot add an account that does not exist. You must first create an email account with a provider.
What Is the Easiest Way to Add an Email Account? (The Automatic Method)
The easiest way to set up email on an iPhone is the automatic method. Go to Settings > Mail > Accounts > Add Account and tap the name of your provider, like “Google.” Your iPhone will handle all the technical server settings for you.
This method works for 90% of all personal email accounts. Apple has pre-programmed all the settings for the big providers. You just need your login credentials.
Use this method if your email is from:
- Google (Gmail)
- Microsoft (Outlook.com, Hotmail, Live)
- Yahoo
- AOL
- Exchange (often for work or student email accounts)
Step-by-Step Guide for Gmail, Outlook, Yahoo, etc.
This process takes less than a minute.
- On your iPhone’s home screen, tap the grey Settings icon (it looks like a gear).
- Scroll down and tap on Mail.
- Tap on Accounts.
- Tap on Add Account.
- You will see a list of major providers. Tap the one you use (e.g., Google for Gmail).
- Your iPhone will open a secure login window from that provider. Enter your full email address and tap “Next.”
- Enter your password. You may also need to complete a 2-Factor Authentication (2FA) step, like approving the login on another device or entering a code.
- Once you are signed in, your iPhone will ask what services you want to sync. This usually includes Mail, Contacts, Calendars, and Notes.
- Make sure Mail is toggled on (the switch is green). You can also sync your Contacts and Calendars.
- Tap Save.
That is it. Go back to your home screen, open the blue Mail app, and your emails will start loading.
How Do I Add an Email Account Manually? (The “Other” Option)
To add an email account manually, go to Settings > Mail > Accounts > Add Account and tap “Other.” This is for any account not on the main list, like a custom business email or a non-standard provider. You must know your server settings (IMAP/SMTP).
This is the “scary” option for many, but it is just a simple form. You just need the right information.
When Should I Use the Manual “Other” Method?
You must use the manual method if your email provider is not on that first list. This includes:
- A work email on a custom email domain, (e.g.,
[email protected]). - An email from a smaller web host (like Bluehost, GoDaddy, SiteGround).
- An older email from an Internet Service Provider (ISP).
What Information Do I Need for Manual Setup?
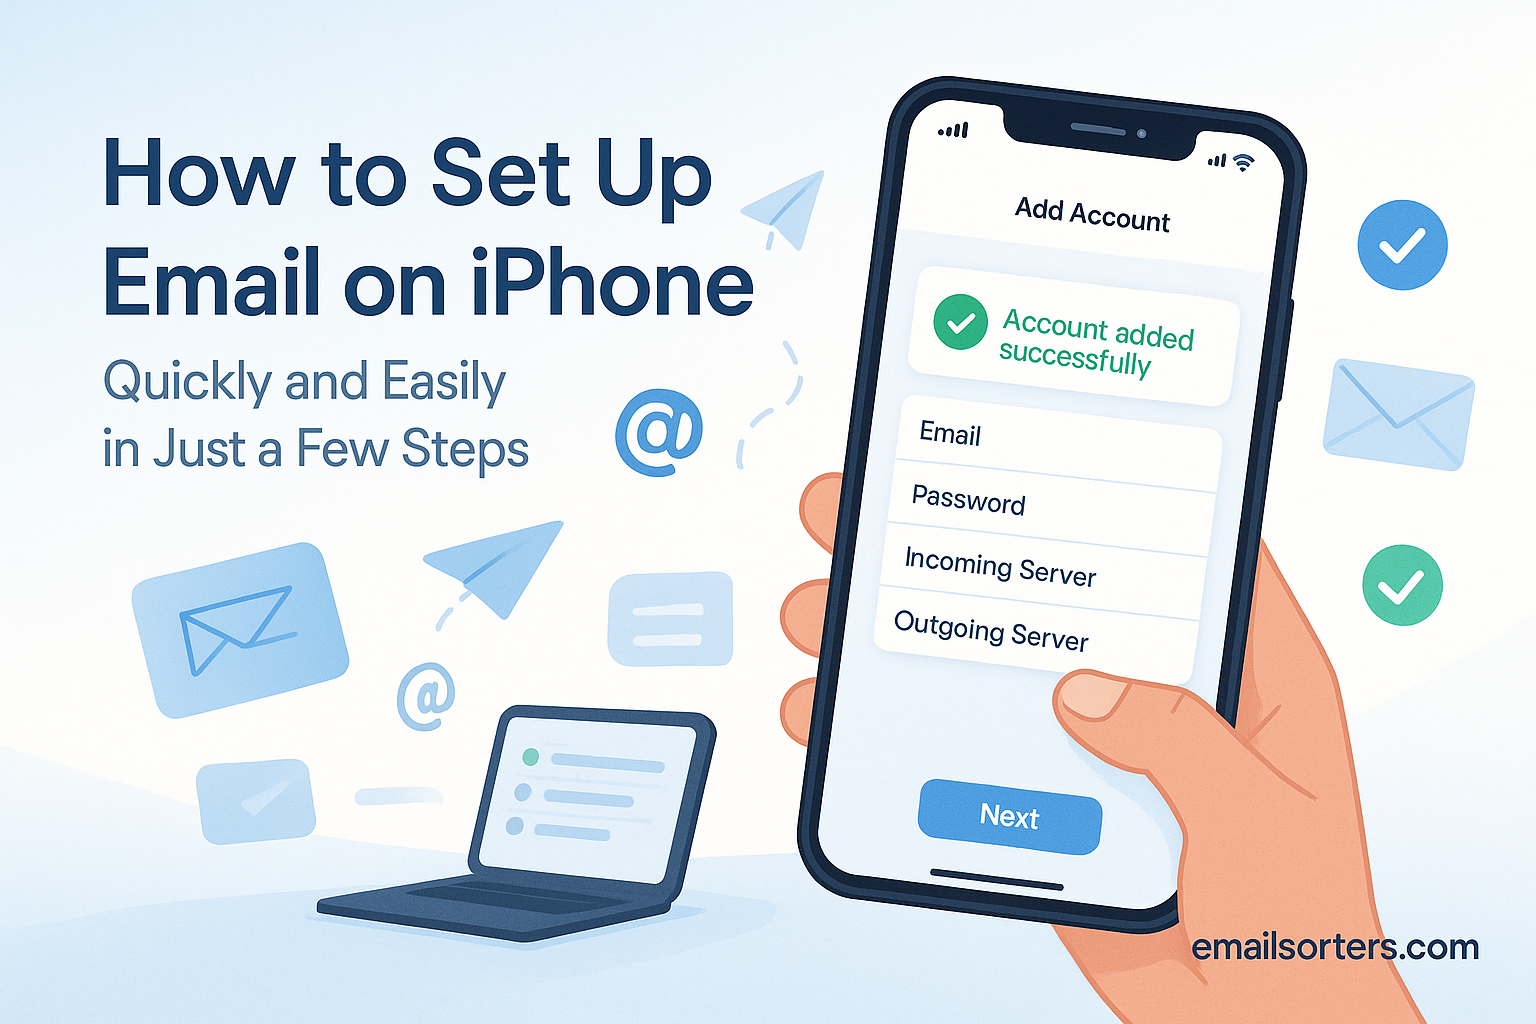
For a manual setup, you need the Incoming Mail Server (IMAP or POP) and Outgoing Mail Server (SMTP) details. You can get this information from your email provider or your IT department.
Before you start, find this info. Look for a “Email Setup” page on your provider’s website.
You need:
- Account Type: IMAP or POP. (Hint: Use IMAP. We will cover this next).
- Incoming Mail Server: A name like
imap.yourhost.com. - Incoming Mail Server Port: A number, often
993(for IMAP). - Outgoing Mail Server (SMTP): A name like
smtp.yourhost.com. - Outgoing Mail Server Port: A number, often
465or587. - Full Username: This is often your full email address.
- Password: Your email password.
Step-by-Step Guide for the “Other” (Manual) Method
Got your server info? Let’s go.
- Go to Settings > Mail > Accounts > Add Account.
- Tap Other (it’s at the bottom of the list).
- Tap Add Mail Account.
- Fill in the top fields:
- Name: Your name, as you want it to appear when you send an email.
- Email: Your full email address.
- Password: Your email password.
- Description: A nickname for the account (e.g., “Work Email”).
- Tap Next. The Mail app will try to find the settings automatically. It might fail. That is okay.
- The app will now show you a new screen. At the top, select IMAP (unless your IT admin specifically told you to use POP).
- Now, fill in all the fields. This is the part that trips people up.
- INCOMING MAIL SERVER
- Host Name: Enter your IMAP host (e.g.,
imap.yourhost.com). - User Name: Enter your full email address.
- Password: Your password (it may already be filled in).
- Host Name: Enter your IMAP host (e.g.,
- OUTGOING MAIL SERVER (SMTP)
- Host Name: Enter your SMTP host (e.g.,
smtp.yourhost.com). - User Name: This is important. This is usually your full email address, even though it says “Optional.” Fill it in.
- Password: Also important. Enter your password here, too, even though it says “Optional.”
- Host Name: Enter your SMTP host (e.g.,
- Tap Next. Your iPhone will now try to verify everything. It will check all four hostnames, usernames, and passwords. This may take 30-60 seconds.
- If all fields are correct, you will see blue checkmarks. You will be taken to a screen to “Save” the account.
- If it fails, it is almost always a typo in a host name or a password.
IMAP vs. POP: Which One Should I Choose?
You should choose IMAP 99% of the time. IMAP (Internet Message Access Protocol) syncs your mail with the email server. POP (Post Office Protocol) downloads your mail to your device and often deletes it from the server.
This is a critical choice, but the answer is simple.
- Choose IMAP if:
- You check email on more than one device (e.g., your phone and your computer).
- You want your “read” emails, sent items, and folders to be in sync everywhere.
- You do not want to lose all your emails if your phone breaks.
- This is the modern standard for all multiple accounts and devices.
- Choose POP if:
- You are an email historian. POP is an old-school protocol, tracing its roots back to the early days (see the fiftieth anniversary of email).
- You have a very specific, old-school reason to.
- My honest advice: Do not use POP. It is a one-way street. It downloads mail. That is it. It does not sync folders or read status. It is a relic.
Should I Use the Apple Mail App or a Third-Party App?
The Apple Mail app is best for a simple, unified inbox. Third-party apps, like the Gmail or Outlook apps, are better if you want advanced features for that specific service (like Gmail’s labels or Outlook’s Focused Inbox).
There is no “right” answer here. It is a matter of personal taste.
| App | Pros | Cons |
| Apple Mail App (Built-in) | • Unified inbox (see all accounts at once). • Simple, clean interface. • Integrates with iOS (e.g., “Share” menu). | • Slower to get new mail (no “push” for Gmail). • Lacks provider-specific features. |
| Gmail App | • True “push” notifications for Gmail. • Excellent search. • Full support for labels and “snooze.” | • Only works for Google accounts. • No unified inbox. |
| Outlook App | • “Focused Inbox” is excellent. • Great built-in calendar. • Supports Exchange, Google, Yahoo. | • Can feel a bit “corporate.” • Interface is busier. |
My Experience: I use the Apple Mail app to see all my different email addresses in one place. But, I keep the Gmail app on my phone for my main business account because its search is unbeatable. (Learn more about Gmail and its features).
How Do I Manage My New Email Account on iPhone?
After setting up your account, you should customize its settings. You can change how often it checks for mail, set a custom signature, and organize your folders.
Your account is in, but now you need to make it work for you.
How to Fix Push, Fetch, and Manually Settings?
This setting determines how your iPhone gets new mail. It is the key to balancing battery life and being up-to-date.
- Go to Settings > Mail > Accounts > Fetch New Data.
- At the top, “Push” means your server will send new mail to your phone instantly. This is great but can use more battery.
- Below that, you can set a schedule for accounts that do not support Push (like Gmail in the Apple Mail app).
- Fetch: Your iPhone will “ask” for mail on a schedule (e.g., Every 15 Minutes). This is a great balance.
- Manually: Your iPhone will only check for new mail when you open the Mail app.
How Do I Create an Email Signature on iPhone?
A signature makes you look professional and saves you from typing your name every time.
- Go to Settings > Mail.
- Scroll all the way down and tap Signature.
- You will see “Sent from my iPhone.” Delete it.
- You can set one signature for “All Accounts” or, (a pro tip) tap “Per Account” to set a different signature for your work and personal emails.
How Do I Organize My Inbox?
Do not live in your inbox. Use the tools Apple gives you.
- Configure Email Folders: In the Mail app, tap “Mailboxes” in the top-left. You can see and add folders.
- Swipe Gestures: Go to Settings > Mail > Swipe Options. You can change what happens when you swipe left or right on a message (e.g., Archive, Flag, Delete).
- Email Drafts: When composing, you can pull the draft down to the bottom of the screen to save it while you look at other emails.
Troubleshooting: What If My Email Setup Fails?
If your setup fails, the most likely culprit is your password. The second is your manual server settings. Re-enter your password carefully. If that fails, delete the account and start over.
Let’s walk through the most common errors.
Problem 1: “Cannot Verify Account” or “Password Incorrect”
- The Problem: You are 100% sure the password is correct, but it fails.
- The Solution:
- It is the password. Go to your email provider’s website (e.g., Gmail.com) on a computer and try to log in. You may find your account is locked or you have the wrong password.
- 2-Factor Authentication: Your provider may require a special “app password.” Google and others sometimes require this for older mail apps.
Problem 2: “Cannot Connect Using SSL”
- The Problem: You see this during a manual setup. It means the secure connection failed.
- The Solution:
- Go back to the manual setup page (IMAP/SMTP).
- Find the “Advanced” settings.
- Make sure “Use SSL” is toggled ON.
- Check the “Server Port” number.
993for IMAP (SSL) and465for SMTP (SSL) are common.
Problem 3: “Cannot Send Mail” (But Can Receive Mail)
- The Problem: You can get emails, but you cannot send them.
- The Solution: This is a 100% problem with your Outgoing Mail Server (SMTP) settings.
- Go to Settings > Mail > Accounts > [Your Account] > [Your Account] > SMTP.
- Tap on your primary SMTP server.
- Re-check the Host Name, User Name, Password, and Port. The User Name and Password are not optional, even if they say so.
Problem 4: I Get a Mailer-Daemon Email
- The Problem: You get a scary-looking “failure” email after sending a message.
- The Solution: This is not a setup problem. This means the email you sent was bad. The address was spelled wrong, or the person’s inbox is full. Read the mailer-daemon message for clues.
What About Other Types of Email Accounts?
The process for setting up other accounts, like a family, student, or child’s email, is the same. You just need the login credentials.
- Family Email Account: If you set up a shared Gmail, just use the automatic “Google” method.
- Email for Children: You will use the “Google” or “Microsoft” automatic method to log in to the child account you manage.
- Student Email: This is often a “Microsoft Exchange” account. Tap that option on the “Add Account” screen.
You Are Now Connected
That is it. You have successfully learned how to set up email on your iPhone. Whether you used the simple automatic method or wrestled with the manual settings, your phone is now your connection to the world. You can manage your messages, archive old ones, and stay on top of your digital life from the palm of your hand.