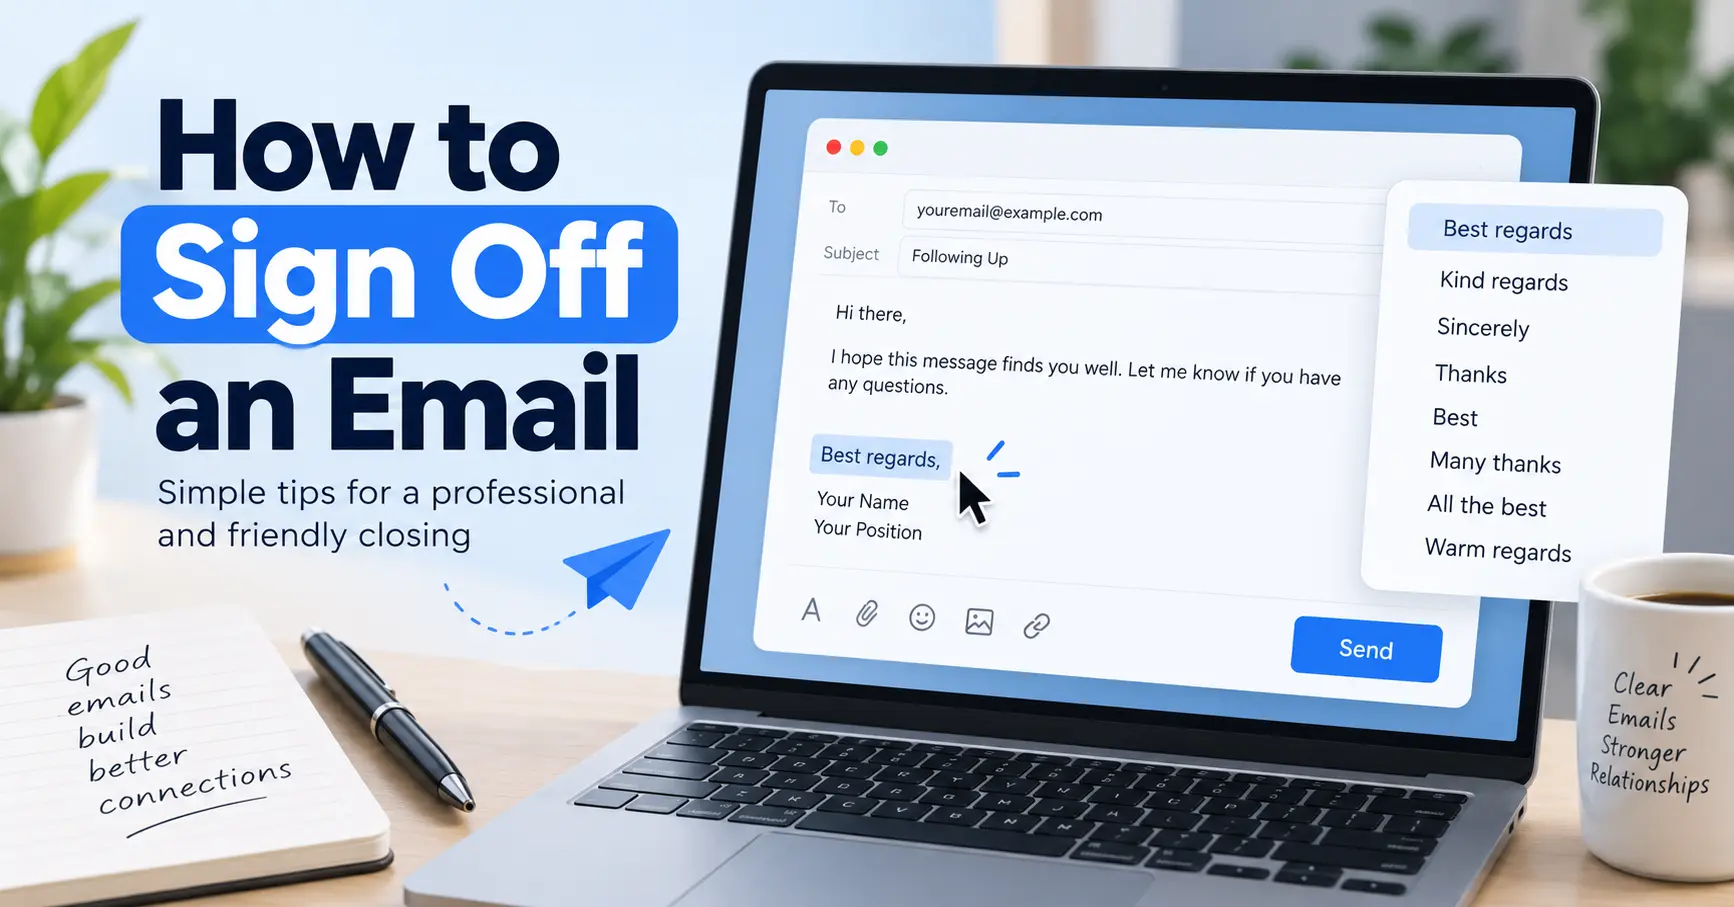
Roundcube email signature is your digital sign-off, a simple way to add professionalism and consistency to every message you send. Whether you want to include your name and job title, contact details, or clickable links, Roundcube makes it easy to set up, edit, or update your signature.
The good news? You don’t need any advanced skills to do it. Roundcube’s built-in tools let you create a basic text signature or even add styled elements like images and links for a more branded look.
In this guide, I’ll walk you through how to set up, change, or edit your Roundcube email signature step by step so your emails always end on a polished, professional note.
Why Your Roundcube Email Signature Matters
Creating a Professional Identity
Your Roundcube email signature is often the final impression you leave in every message you send. Whether you’re replying to a quick question or drafting a formal proposal, your signature reinforces who you are and how people can get back in touch with you. Especially when using a platform like Roundcube, where emails are handled through a clean, user-friendly interface, adding a professional signature adds credibility to your communications.
Think of your signature as your digital business card. It includes your name, title, company, phone number, and sometimes even social media links or a calendar link. It shows that you’re detail-oriented, organized, and intentional about your communication. This is especially important for businesses, freelancers, or anyone representing a brand.
Increasing Accessibility and Engagement
Beyond just looking professional, your email signature can also enhance accessibility. If someone wants to call you, click to your website, or connect on LinkedIn, the signature provides those direct paths. When structured properly, a signature saves time for both sender and recipient.
It’s also a subtle way to drive engagement. A strategically placed call-to-action, such as “Book a call,” “Download our brochure,” or “Visit our new site,” can generate traffic and interest without a hard pitch. Roundcube gives you the tools to make this both functional and visually appealing.
Getting Familiar with the Roundcube Interface
Accessing Roundcube via Webmail
Roundcube is often accessed through your hosting provider’s webmail interface. Typically, this is reached by visiting a URL like yourdomain.com/webmail, and selecting Roundcube from the available email clients. Once logged in with your email credentials, you’re directed to the Roundcube dashboard.
This dashboard includes your inbox, folders, message preview, and a settings icon—your starting point for customizing email features like your signature. Roundcube is popular for its simplicity and intuitive layout, making it easy for new users to adapt quickly.
Navigating to the Settings Panel
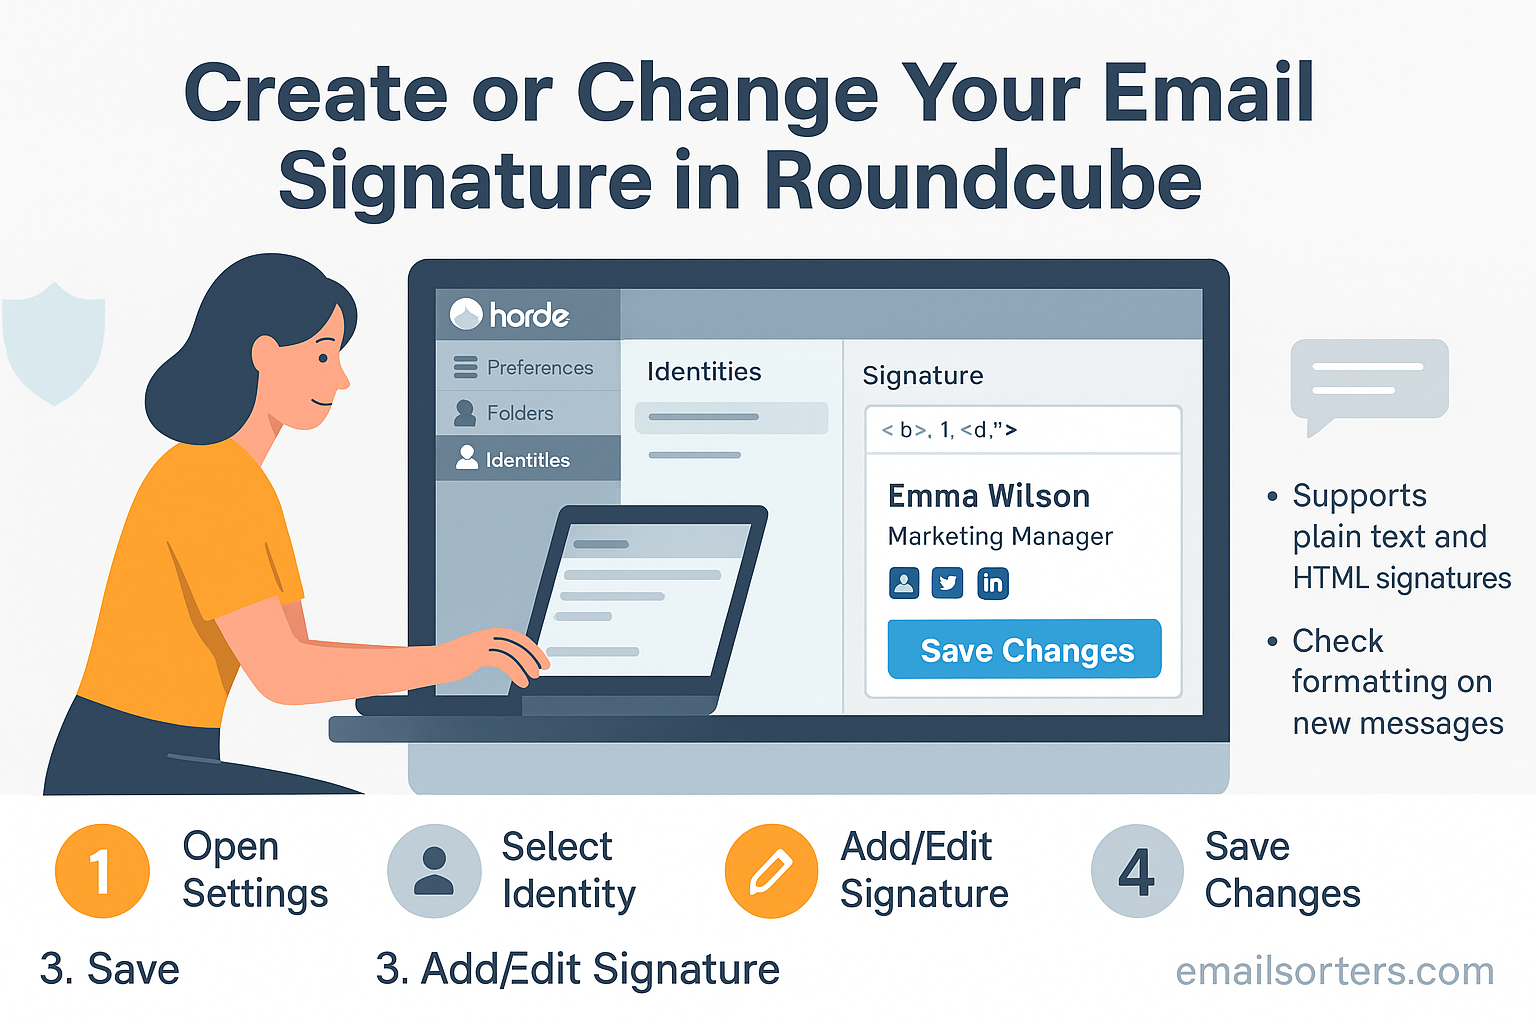
To create or update your email signature in Roundcube, begin by clicking the gear icon or “Settings” usually located in the upper-right corner of the interface. This brings up several categories like Preferences, Folders, and Identities. You’ll find the signature settings under the Identities section.
Identities in Roundcube refer to the email addresses or profiles you use within the app. Even if you only have one address configured, your identity settings are where your name, reply-to address, and signature are managed. Select your identity to begin editing the associated signature.
How to Create a New Email Signature in Roundcube
Selecting the Right Identity
Before typing your signature, ensure you’re editing the correct identity. If you have multiple email addresses linked to Roundcube—for example, [email protected] and [email protected]—each one can have its own unique signature. Click on the identity name in the list, and a new window or side panel will appear with editable fields for your personal information and signature.
Make sure the “Display Name” and “Email” fields are accurate before proceeding. This is the identity that your recipients will see in the “From” field of every email, so it needs to match your professional or personal brand.
Using the Signature Editor
Within the identity editing screen, you’ll see a text box labeled “Signature.” This is where you’ll either write a new signature from scratch or update an existing one. If your email client is set to plain text, your signature will be limited to simple characters and formatting like line breaks. However, if your account settings allow for HTML composition, you’ll be able to use formatting tools like bold, italics, hyperlinks, and even HTML code to enhance your signature.
Start by typing your name and title, followed by your company (if applicable), phone number, email, and any relevant links. Keep the layout clean with clear line spacing. You can add a line or two at the end for a call-to-action or disclaimer if needed.
Step-by-Step: Adding or Editing Your Signature
Accessing Identity Settings
Once inside the Settings menu, navigate to Identities on the left-hand panel. This is where each configured email identity is listed. Click the identity you’d like to modify. A new window will open, showing fields for your name, email address, organization, and the all-important Signature box at the bottom. This is your editing workspace.
Make sure you’re working within the correct identity if you manage more than one email. This ensures your changes will apply to the right outgoing emails.
Writing a Plain Text or HTML Signature
Roundcube offers two modes for composing your signature: plain text and HTML. If you want a basic layout with just your contact information, plain text is a good option. It’s clean, universally supported, and quick to set up.
However, for a more polished look, especially if you’re representing a business, HTML is the way to go. HTML allows you to add formatting like bold text, different fonts, colors, hyperlinks, and even inline elements like Unicode icons.
If HTML is enabled for your account, you’ll see a small checkbox or toggle option labeled “HTML Signature.” Click this to activate the HTML editor. Once active, a toolbar will appear above your signature field, giving you options for formatting, alignment, and linking. You can also switch to source view to paste in raw HTML code if you have a predesigned signature from your marketing team or an online generator.
A basic HTML signature might include your name in bold, a colored job title, and clickable links to your website or calendar. The key is balance, style should enhance readability, not complicate it.
Enabling Signature Insertion in Messages
After you’ve written your signature, you need to make sure it actually shows up when composing emails. To do this, go to Settings > Preferences > Composing Messages. Here you’ll find options for when and how signatures are added.
Look for a setting labeled something like “Automatically add signature” or “Insert signature when composing a new message.” Set this to your preferred behavior—either for all new messages, for replies and forwards, or manually.
If you’re using HTML signatures, make sure you also enable HTML message composition under your composing preferences. Without this setting turned on, your beautifully styled signature will appear as plain text, stripping out any formatting.
Once everything is saved, open a new email draft. Your signature should now appear at the bottom, exactly as designed. If not, return to your settings to double-check your preferences and formatting.
Formatting Options for Your Signature
Basic Text Styling
Even if you’re using plain text, there are ways to structure your signature effectively. Use consistent spacing, clear line breaks, and dashes or symbols to separate sections. For instance, a plain text signature might look like this:
makefileCopyEditJane Doe
Customer Success Manager
Acme Corp
Phone: (123) 456-7890
Email: [email protected]
www.acmecorp.com
In the HTML editor, you can add emphasis using bold or italic fonts, different sizes, and basic alignment. Be careful not to go overboard. Stick with web-safe fonts like Arial, Helvetica, or Verdana to ensure your signature looks the same across devices.
Adding Hyperlinks and Contact Info
One of the main benefits of using HTML in your signature is the ability to embed links. This makes it easy for recipients to click directly to your website, calendar, or social media. Use concise, descriptive link text rather than displaying full URLs. For example, write “Visit Our Website” instead of “https://www.acmecorp.com.”
To add a hyperlink, highlight the text in the HTML editor and click the link icon in the toolbar. Paste your URL into the popup window, and save. You can also link email addresses by using the “mailto:” format (e.g., mailto:[email protected]), and phone numbers with the “tel:” prefix (tel:+11234567890) to enable click-to-call functionality on mobile.
Including a Legal Disclaimer
If you’re sending emails in a regulated industry—finance, law, healthcare—you may need to include a disclaimer. This usually goes at the bottom of your signature in smaller text, separated by a line or divider. Keep it brief and compliant. You might say:
This email and any attachments are confidential and intended solely for the use of the individual to whom it is addressed.
Disclaimers ensure you’re protecting sensitive information and maintaining professionalism, particularly in formal correspondence.
How to Use HTML Signatures in Roundcube
Switching to the HTML Editor
If you’re planning to add style and structure to your signature, you need to enable HTML mode. Navigate to Settings > Preferences > Composing Messages, then ensure that Compose HTML messages is turned on. Without this, even if you create an HTML signature, Roundcube may default to plain text and strip out your formatting.
Once this setting is enabled, go back to Settings > Identities, click on your email identity, and check the box labeled “HTML Signature.” This will activate a rich-text editor where you can style your signature visually or paste in raw HTML.
Adding HTML Code and Styling
If you’ve had a designer create a custom HTML signature for you—or used a signature generator—you can copy and paste the code into the HTML source view of the signature editor. Look for a “Source” or “<>” icon in the toolbar to access the raw code field.
Paste your HTML code carefully, checking that all image URLs and links are accurate. You can use inline CSS styles for fonts, spacing, and colors. Avoid using external CSS files, as many email clients don’t load them properly.
Here’s a basic HTML sample for reference:
htmlCopyEdit<p><strong>Jane Doe</strong><br>
<span style="color: gray;">Marketing Manager</span><br>
<a href="mailto:[email protected]">[email protected]</a> |
<a href="https://www.acmecorp.com" target="_blank">acmecorp.com</a></p>
This snippet includes bold styling for the name, a muted color for the title, and clickable email and website links.
Using External Images and Logos
If you want to include a company logo or social icons in your signature, make sure those images are hosted online and linked via a direct HTTPS URL. Roundcube does not support image attachments within signatures, so images must be embedded via external links.
Use <img> tags in your HTML code like this:
htmlCopyEdit<img src="https://www.acmecorp.com/images/logo.png" alt="Acme Logo" width="150">
Always test your email signature after adding images to make sure they load properly and aren’t blocked by recipients’ email clients. Keep image sizes small (ideally under 100KB) to avoid slow loading or deliverability issues.
Best Practices for Email Signature Design
Keeping It Clean and Professional
A cluttered or overly stylized email signature can do more harm than good. When designing your signature in Roundcube, simplicity is your best ally. Stick to clear lines, legible fonts, and essential information only. If your signature looks like a banner ad, it can come across as unprofessional or spammy, especially in corporate communication.
Aim for consistency. Use uniform font types and sizes, and limit the number of colors to one or two that reflect your branding. Roundcube’s editor allows you to do this easily using inline styles in the HTML signature mode. Make sure your design doesn’t shift the reader’s focus away from your message; it should complement your content, not overpower it.
Another good rule of thumb is to align your signature to the left or center. Avoid justifying everything or mixing alignments—it makes your signature look disorganized. Remember, recipients might view your emails on various devices, so test to ensure readability across desktops, tablets, and smartphones.
What to Include and What to Avoid
At a minimum, your signature should include your full name, job title, company name, and at least one form of contact—typically a phone number or email address. Including your website and one social media link, such as LinkedIn, can also help strengthen your digital identity.
That said, resist the urge to include everything. Don’t overload your signature with every possible link or social media icon. Avoid adding personal quotes or inspirational lines unless they align with your brand. Similarly, refrain from using animated GIFs, JavaScript, or videos, as these not only fail to render in most email clients but can also flag your messages as spam.
A well-balanced signature gets attention by being clear and accessible—not by being flashy. If your recipient needs to spend time figuring out how to contact you or what you’re offering, you’ve already lost their interest.
Testing Your Signature Before Sending
Composing a Draft Email
After you’ve created or edited your signature in Roundcube, it’s essential to verify how it looks in actual use. The best way to do this is by composing a draft email and observing the signature directly in the message editor. You should see your newly designed signature populate automatically based on your settings.
If you don’t see it appear, revisit your identity settings to confirm that the correct identity is being used and that the auto-insert options are enabled. Also, check that you’re composing in the correct format—HTML versus plain text—depending on how your signature was designed.
When reviewing your draft, pay attention to spacing, fonts, and overall layout. Make sure the signature appears professional, aligned correctly, and that no elements are overlapping or missing. Also verify that any links and images work as expected.
Checking Signature Visibility Across Clients
Not every email recipient will use the same email client, so testing across platforms is important. Send a test message to different email accounts—such as Gmail, Outlook, and Yahoo—and open them on both desktop and mobile devices. This ensures your signature looks consistent regardless of how or where it’s being viewed.
In some clients, images might be blocked by default, so make sure your signature still makes sense without them. For example, if your phone number is embedded in an image, the recipient won’t see it unless images are allowed. That’s why it’s a good idea to always include key details in text form as a fallback.
Also consider how your signature looks in dark mode. Some colors, especially light grays or yellows, may become unreadable on a dark background. A brief test in dark mode ensures your message stays legible and visually balanced no matter the user’s preference.
Managing Multiple Signatures or Identities
Creating Different Signatures for Different Roles
If you wear more than one hat—say, you’re both a project manager and a business owner—you might need separate email signatures for each identity. Roundcube lets you do this by creating multiple identities, each with its own customized signature.
Under the Identities section in Settings, click the “+” icon or “Create New Identity” button. Enter your alternate name, email address, and customize the signature accordingly. You can include different branding, titles, or even tailored CTAs depending on the role or context.
This feature is particularly helpful for freelancers, consultants, or team leads who communicate with different departments or clients under various roles. Each identity can be selected manually when composing a new email, ensuring the appropriate signature is used.
Switching Signatures When Composing
Once you’ve set up multiple identities, you can choose which one to use when sending an email. In the compose window, look for the “From” dropdown at the top of the message. Selecting a different sender address will automatically switch the associated signature.
Roundcube remembers your last used identity for replies, but it’s always a good idea to double-check before hitting send. This manual control gives you flexibility while maintaining a professional tone with each type of contact.
Having multiple signatures ready at your fingertips saves time and eliminates the need to manually paste or retype different sign-offs. It’s also a great way to streamline communication while keeping it relevant and personal.
Troubleshooting Common Issues
Signature Not Appearing in Emails
If your signature isn’t showing up in new messages, the issue likely lies in your composition settings. Start by checking if the “Automatically insert signature” option is enabled under Preferences > Composing Messages. Also ensure the identity you’re using actually has a signature saved.
If the signature shows up in new messages but not in replies or forwards, check the settings for those actions specifically. Roundcube allows you to apply the signature differently depending on whether it’s a new message, reply, or forward.
Additionally, be aware that if you’re composing in plain text, any HTML formatting in your signature will be stripped out. Make sure your composing mode matches the format your signature was designed for.
HTML Rendering Problems
Even if your HTML signature looks perfect in the editor, issues can arise in the email inbox. Common problems include broken layouts, missing images, or inconsistent spacing. These are usually caused by email clients stripping out or misinterpreting your HTML and CSS.
To minimize rendering problems, use inline styles only. Avoid complex HTML structures or external stylesheets, which many email platforms don’t support. Keep your code clean and test it across platforms, especially if your signature includes tables, buttons, or branding elements.
Also, verify that all images are hosted securely using HTTPS. Many email services block unsecured images, causing your logo or icons to disappear. For best results, host signature assets on a reputable server and keep file sizes small to ensure fast loading.
Updating Your Signature Regularly
Reflecting Career or Branding Changes
Your email signature should evolve along with your professional life. Whenever you switch roles, update your job title, launch a new product, change your website, or rebrand your company’s image, your signature needs to reflect those updates. Outdated information, such as an old phone number or expired CTA, not only confuses recipients but can also make you look careless.
If your signature includes dynamic elements like links to promotions or seasonal content, be sure to update them once the campaign ends. This keeps your email communications fresh and relevant. Even something as small as switching from “Marketing Associate” to “Marketing Manager” deserves an update—it speaks to accuracy and professionalism.
Roundcube makes this process easy. Simply revisit the Identities section under Settings, select the identity you want to edit, and modify the signature content. You don’t need to create a new one unless your role or contact details are changing dramatically. Small tweaks help you stay aligned with your evolving personal or corporate brand.
Setting a Schedule for Routine Reviews
Even if nothing major has changed, it’s good practice to review your email signature every few months. Create a quarterly calendar reminder to check for accuracy. Are the links still working? Is your title still current? Has your company introduced new branding guidelines?
Regular reviews help you stay one step ahead. It’s easy to forget about your signature once it’s set, but it appears in every message you send. Keeping it sharp ensures you’re putting your best foot forward every single time. If you use multiple identities in Roundcube, review each one separately to ensure consistency and correctness across all communication channels.
Signature Limitations in Roundcube
Known Restrictions of Roundcube Editor
Roundcube, while user-friendly and practical, has some limitations when it comes to email signatures. For starters, image embedding directly into the email (as attachments or inline base64 content) isn’t supported in most default installations. This means any logos or icons used in your signature must be hosted externally, which adds a layer of complexity for non-technical users.
The editor also limits CSS usage. Roundcube doesn’t fully support advanced styling techniques like external CSS files or media queries, which are often used for responsive design. This can result in inconsistent display of complex HTML signatures across various email clients, especially mobile ones.
Another limitation is the lack of dynamic signature options. You can’t, for instance, set rotating banners or conditional content based on time or recipient. Each signature remains static and must be updated manually.
Despite these constraints, Roundcube is still more than capable of supporting clean, attractive, and fully functional professional email signatures—as long as you design with its capabilities in mind.
Workarounds for More Complex Designs
If you need more advanced features, there are a few workarounds. One option is to create your email signature using a third-party signature generator that outputs HTML code. Once created, you can copy and paste that code directly into Roundcube’s HTML editor (via source view). This method lets you use visually enhanced layouts with clean, compatible code that won’t break across clients.
Another approach is to store frequently used elements—like your company’s legal disclaimer or a temporary promotion—in a document or notes app. That way, you can manually insert or rotate them without completely redesigning your signature each time.
For businesses with strict brand standards or high email volume, it might be worth considering a server-side signature management tool. These tools manage and inject consistent, centrally controlled signatures across all users and devices—even in Roundcube environments. Though it requires more setup, this ensures your branding remains uniform without relying on each user to update their own signature.
Security and Privacy Considerations
Avoiding Unsafe Links or Attachments
Email signatures should always uphold security best practices. Never include shortened or redirecting URLs in your signature, as these can raise red flags in spam filters or cause recipients to hesitate. Stick with direct, secure links using the HTTPS protocol. If you’re linking to a booking page, portfolio, or document, ensure it’s hosted on a secure and professional-looking domain.
Also avoid linking to documents stored in public folders like Google Drive or Dropbox without adjusting permissions properly. A broken or inaccessible link sends a bad message—and it’s surprisingly common. Check that your links are active and your sharing settings allow access without compromising security.
Similarly, never attach files to your signature. Embedded attachments can slow down email delivery and may be stripped by email clients for safety reasons. If you want to share a downloadable resource, link to a secure landing page instead.
Ensuring Compliance with Email Standards
Depending on your industry, you may need to include compliance elements in your email signature. For example, financial advisors often include disclosures, while medical professionals may add privacy notices due to regulations like HIPAA. These should be clear, concise, and formatted in a way that doesn’t overwhelm the recipient.
Roundcube allows you to include these messages in small text or at the bottom of your signature. Keep them short—ideally one or two lines—and avoid legal jargon that clutters the message. If your company has an approved disclaimer template, paste it directly into your HTML or plain text signature field.
In global contexts, it’s also important to be GDPR-compliant. Avoid collecting data through your email signature without consent, and steer clear of tracking pixels or analytics scripts embedded in signature images. Simple, transparent, and secure is always the best approach.
Conclusion
Creating or changing your email signature in Roundcube is a straightforward but impactful way to elevate your communication. Whether you’re adding a polished professional touch, reinforcing your brand, or simply making it easier for recipients to get in touch, a clean and thoughtful signature goes a long way.
Roundcube offers the tools you need to build a signature that fits your role—whether you use plain text, HTML formatting, or multiple identities. While there are some limitations in terms of design complexity, smart formatting and regular updates can keep your signature sharp, functional, and engaging.
Take a few moments to create a signature that reflects your identity, supports your goals, and gives every email you send a professional close. It’s a small effort with lasting impact—and one that makes your inbox presence stand out with every message.
FAQs
Can I use images in my Roundcube signature?
Yes, but only via external hosting. Roundcube does not support embedded image attachments in signatures. Use direct image URLs hosted on secure (HTTPS) servers.
How do I switch between multiple signatures?
You can create separate identities for each signature under Settings > Identities. Choose the desired identity from the “From” dropdown when composing a new email.
Why isn’t my signature showing up when I reply?
Check your composing settings under Preferences. Ensure the “Automatically insert signature” option is enabled for replies and forwards.
Can I add a clickable link in my signature?
Absolutely. Use the HTML editor to hyperlink text or add clickable email and phone links using mailto: and tel: formats.
Does Roundcube support HTML signatures on mobile?
Yes, but rendering depends on the mobile browser or app accessing Roundcube. For best results, test your signature on multiple devices to ensure it displays correctly.